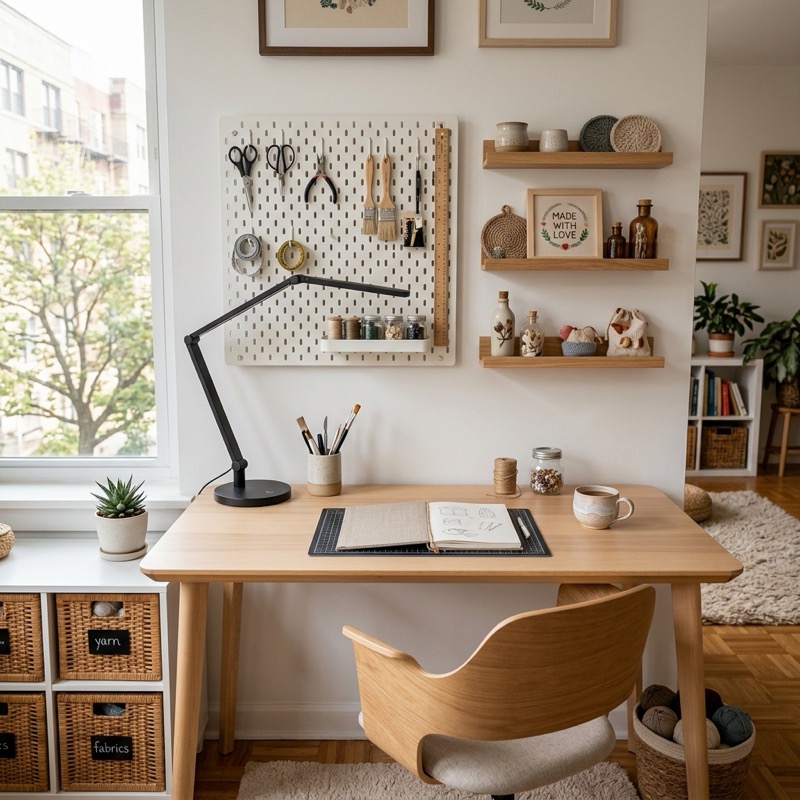
Creating Space: Designing a Productive Home Craft Studio
For many artisans, the kitchen table is where it all begins. You layout your clay, spread your fabrics, or arrange your jewelry wires, work for a few hours, and then pack everything back into plastic storage tubs so your family can eat dinner.
While the "nomadic studio" is a great way to start, expanding your craft business requires a dedicated, professional workspace. Having a permanent layout speeds up production, prevents accidental damage, and makes product photography infinitely easier.
You don't need a spare room or a commercial loft. With smart organization and efficient design, you can build a highly productive studio in a corner of your bedroom or living room.
1. Zoning Your Workspace
The secret to a productive small studio is "zoning"—dividing your space into distinct functional areas so you aren't mixing dirty raw materials with clean, ready-to-ship inventory.
- The Dirty Zone: Where the actual making happens. This is where your pottery wheel, sewing machine, soldering iron, or paints reside. Keep tools within arm's reach on pegboards or wall shelves.
- The Clean Zone (Inventory & Storage): Where finished items are stored. Keep this area away from direct sunlight, moisture, and dust. Items like the show how even your storage tools can double as beautiful tabletop decor.
- The Photo & Shipping Zone: A staging area with natural light and a clean backdrop. Keeping this area permanently set up means you can shoot and package new items in minutes.
2. Lighting is Everything
Artisans need two types of lighting: task lighting to prevent eye strain during close work, and ambient light for accurate color representation.
Avoid standard yellow overhead bulbs. Instead, invest in a daylight-balanced LED desk lamp (5000K to 5500K color temperature). This ensures the colors of your threads, paints, or beads look exactly the same in your studio as they will to your buyers online. For photo staging, set up your backdrop table at a 90-degree angle to a bright window to get soft, natural side-lighting without harsh shadows.
3. Streamlining Your Launch
Setting up your physical space is just the first step. The logistics of launching a business—like package sizing, photo staging, and managing inventory—can feel overwhelming.
To help new creators organize their launch process, we have put together a comprehensive . It covers everything from photographing products with natural lighting to calculating exact shipping weights so you never lose money on postage.
When you are ready to sell, Wabbus offers a risk-free playground to launch your brand. With 0% platform commission and no listing fees, you can list your full experimental catalog without paying anything upfront, letting you test which products perform best.
Find beautiful hand-crafted tools and storage accessories to upgrade your setup by exploring our and start designing your dream studio today.